


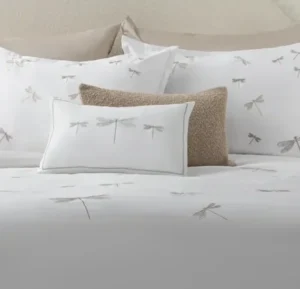
Granola Mishloach Manos
Granola is a wonderful idea for Mishloach Manos—it can be prepared in advance, packages beautifully, and is always appreciated. It’s practical, delicious, and feels thoughtful without being overly complicated.
The Granola
For this Mishloach Manos, we used Chanie Nayman’s Homemade Granola that she recently featured in Family First. To add interest and variety, we made three different versions:
One batch kept classic and plain
One batch mixed with freeze-dried fruit
One batch finished with chocolate chips
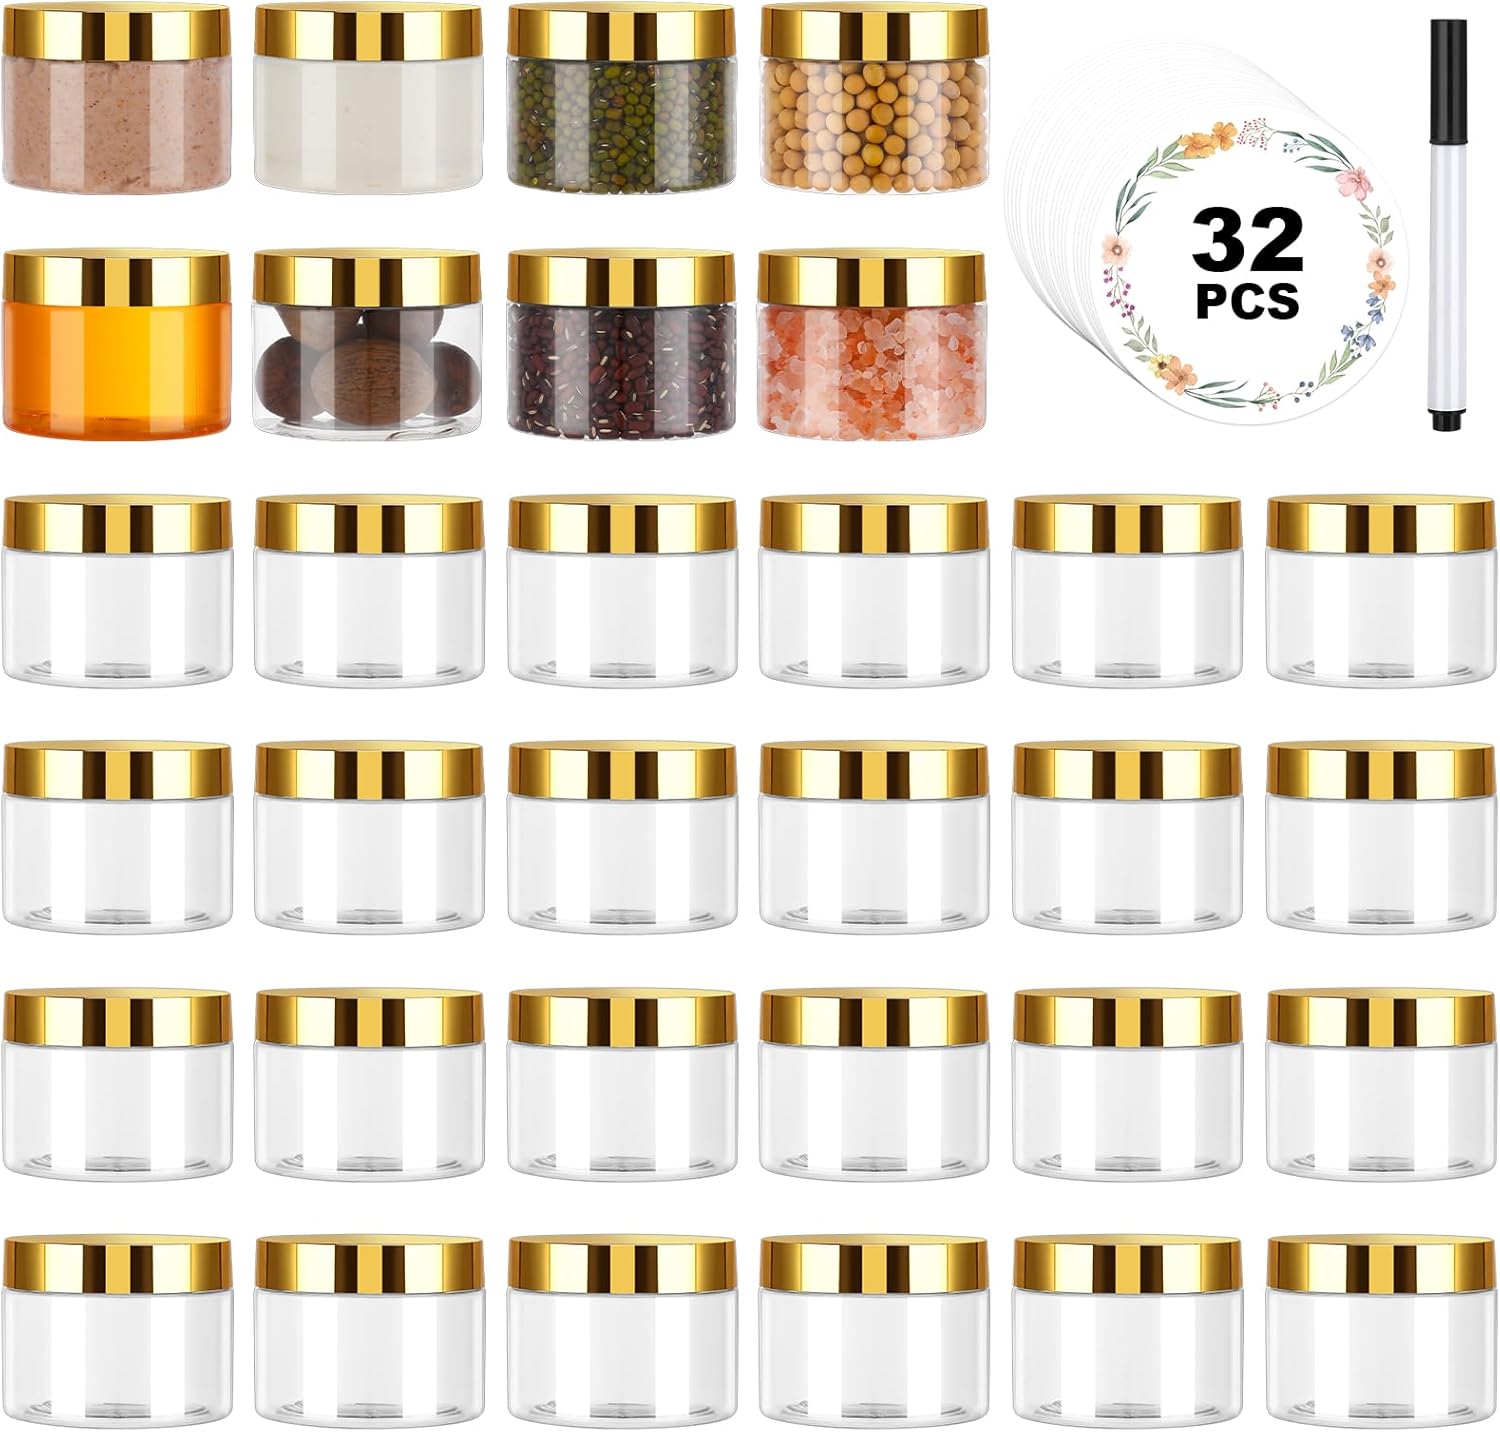
Packaging Made Simple
The neatly stacked containers make this Mishloach Manos especially easy to package and transport. They stay secure, look clean and polished, and elevate the presentation without extra fuss.
A Versatile Idea
What we love most about this container-stacking idea is how versatile it is. While it works beautifully for granola, the same packaging can be used for just about anything you’d like to fill the containers with—making it a go-to option for future Mishloach Manos or gifting ideas.
Simple, practical, and polished—just the way we like it.
Love this idea? See more Mishloach Manos posts for every style and budget.
You will need:
- 2” x 6” tag printed on cardstock
- 2-1/8” x 2.75” jars
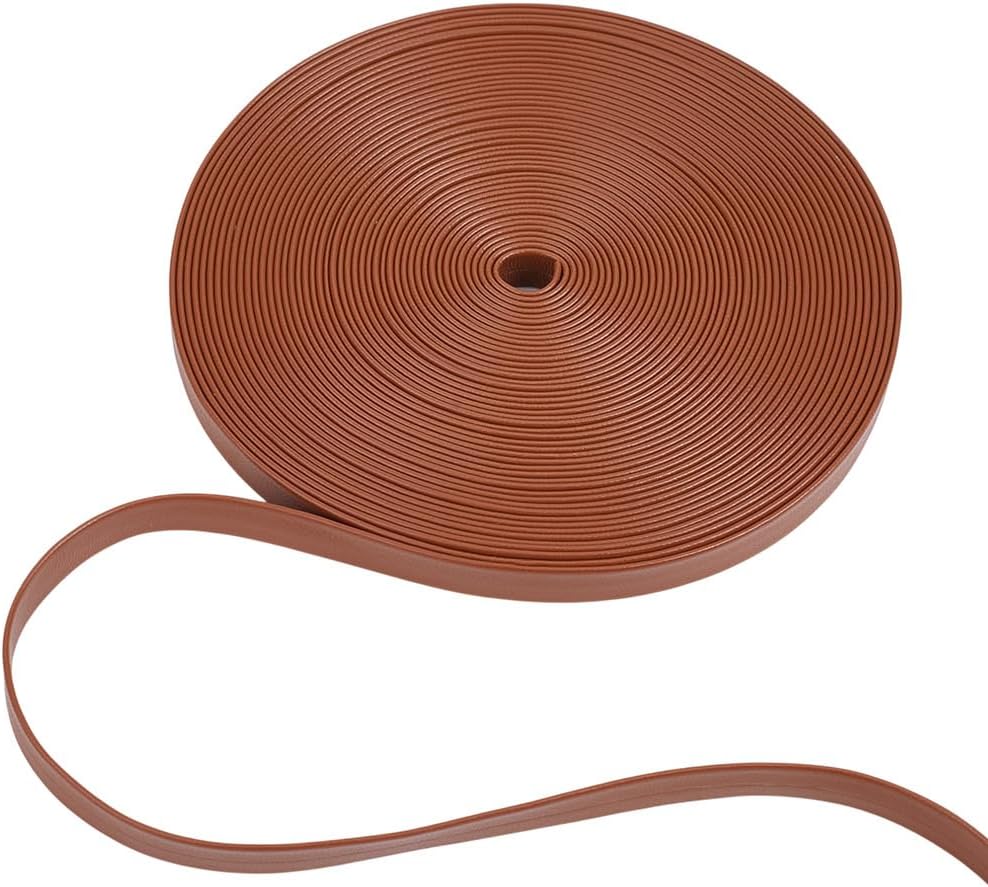
- ¾ yard ribbon or thin leather


Directions for printables:
- Edit the labels.
- Group the design.
- Check that the sizes are correct.
- Multiply as needed.
- Print on cardstock.
Original graphics designed by OMG Design.
We uploaded the design to Canva for easy editing. Some text and fonts may have shifted during the upload, so please review everything carefully before printing. A basic understanding of Canva is needed to make edits.
To have labels professionally designed, contact Leah at [email protected].
Directions:
- Glue the three jars together with a glue gun or glue dots.
- Punch a hole on top and bottom of the tag, approximately ¼-1/2” from the edge.
- Fold over the top of the tag, approximately 1.5” of the tag.
- Tape the ribbon to the back of the tag, right above the bottom hole. The top of th ribbon should be
pointing towards the top. - Thread the ribbon through the bottom hole and wrap it around the bottom of the stack, bring it up the other side till the top hole.
- Thread it through the top hole.
- Fold over the ribbon and tie a knot so that it is sitting right in the center of the top container.
- Secure with tape.
Photography and styling by Chay Berger
This article originally appeared in Family First


4 Responses
How did you tie that loop at the top?
Please see the directions below the supplies. Its a slip knot.
Thanks. I was reading it wrong. Sorry one more question, do you know about how long the piece of ribbon is?
About2.5 feet